Description
PLEASE NOTE: ALL ORDERS TO AUSTRALIA REQUIRE AN ADDITIONAL $100 IN SHIPPING FEES TO BE PAID AFTER ORDER IS PLACED
NOTE: The Fender and dash kit DOES NOT fit 2025 models. The tunnel kit and Back Seat Heat Shield DO fit 2025’s.
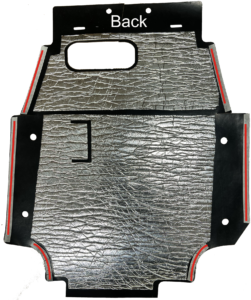
Back Seat Heat Shield:
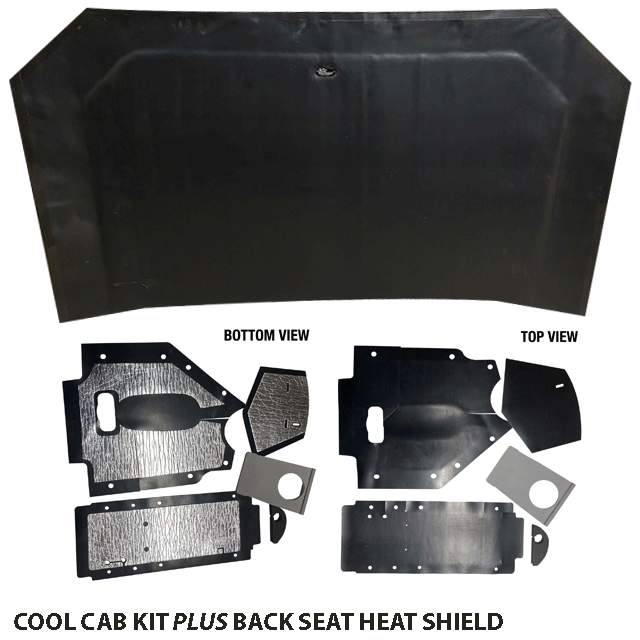
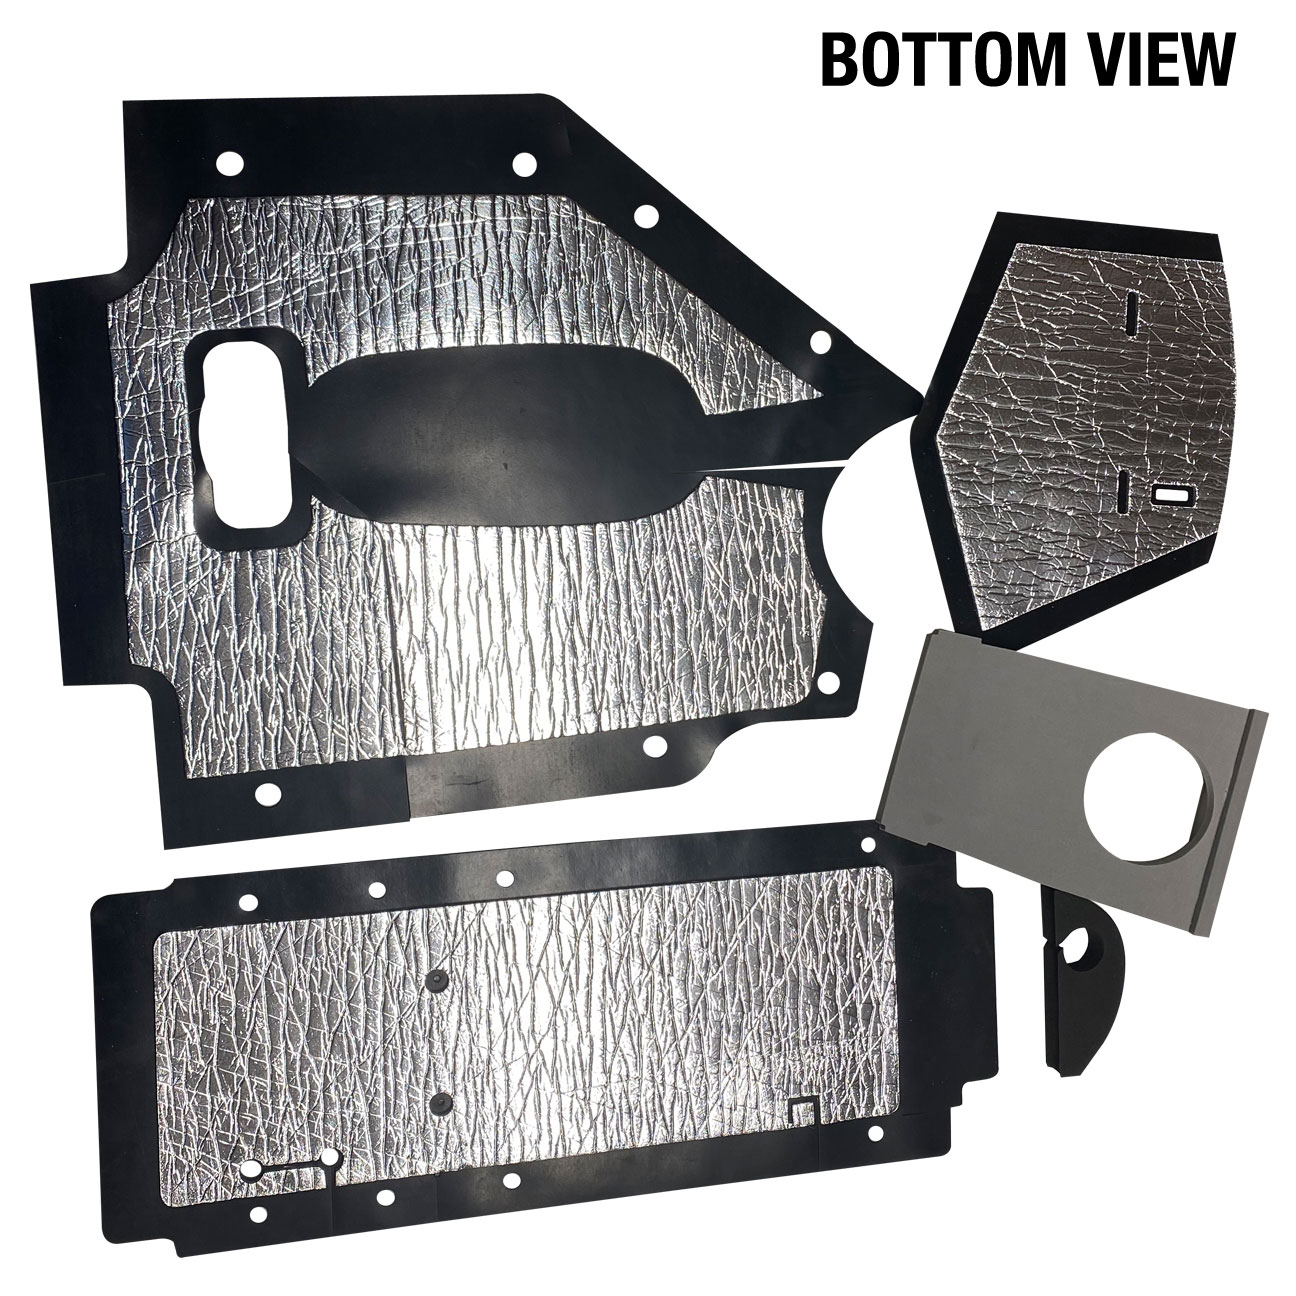
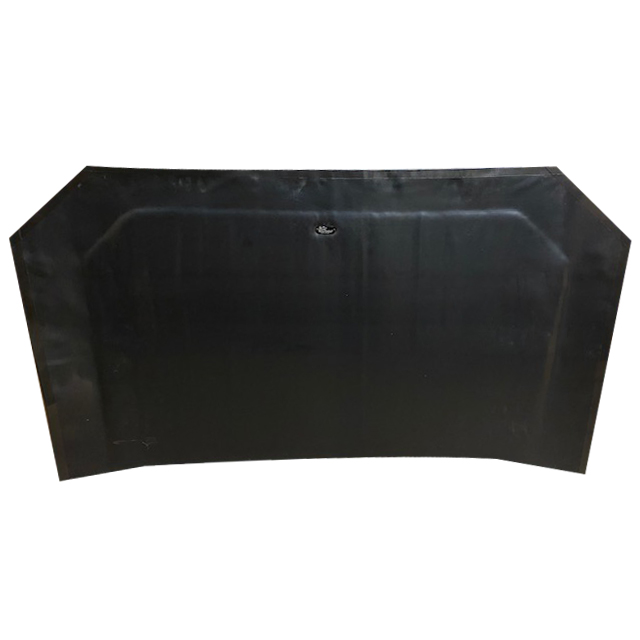
Made from a 2.5mm butyl rubber with an aluminum foil face insulating soundproofing material, expertly heat-laminated to a rubber backing for exceptional insulating capabilities. This material is precisely die-cut and seamlessly fitted to the full back panel, serving to insulate and effectively block hot air from entering. Additionally, it can easily be removed for air filter access.
Note: The back seat heat shield is available for individual purchase or as a combination with the Tunnel Kit. Make sure to select the correct product from the dropdown menu to suit your needs.
Cool Cab Kit (Tunnel Kit)
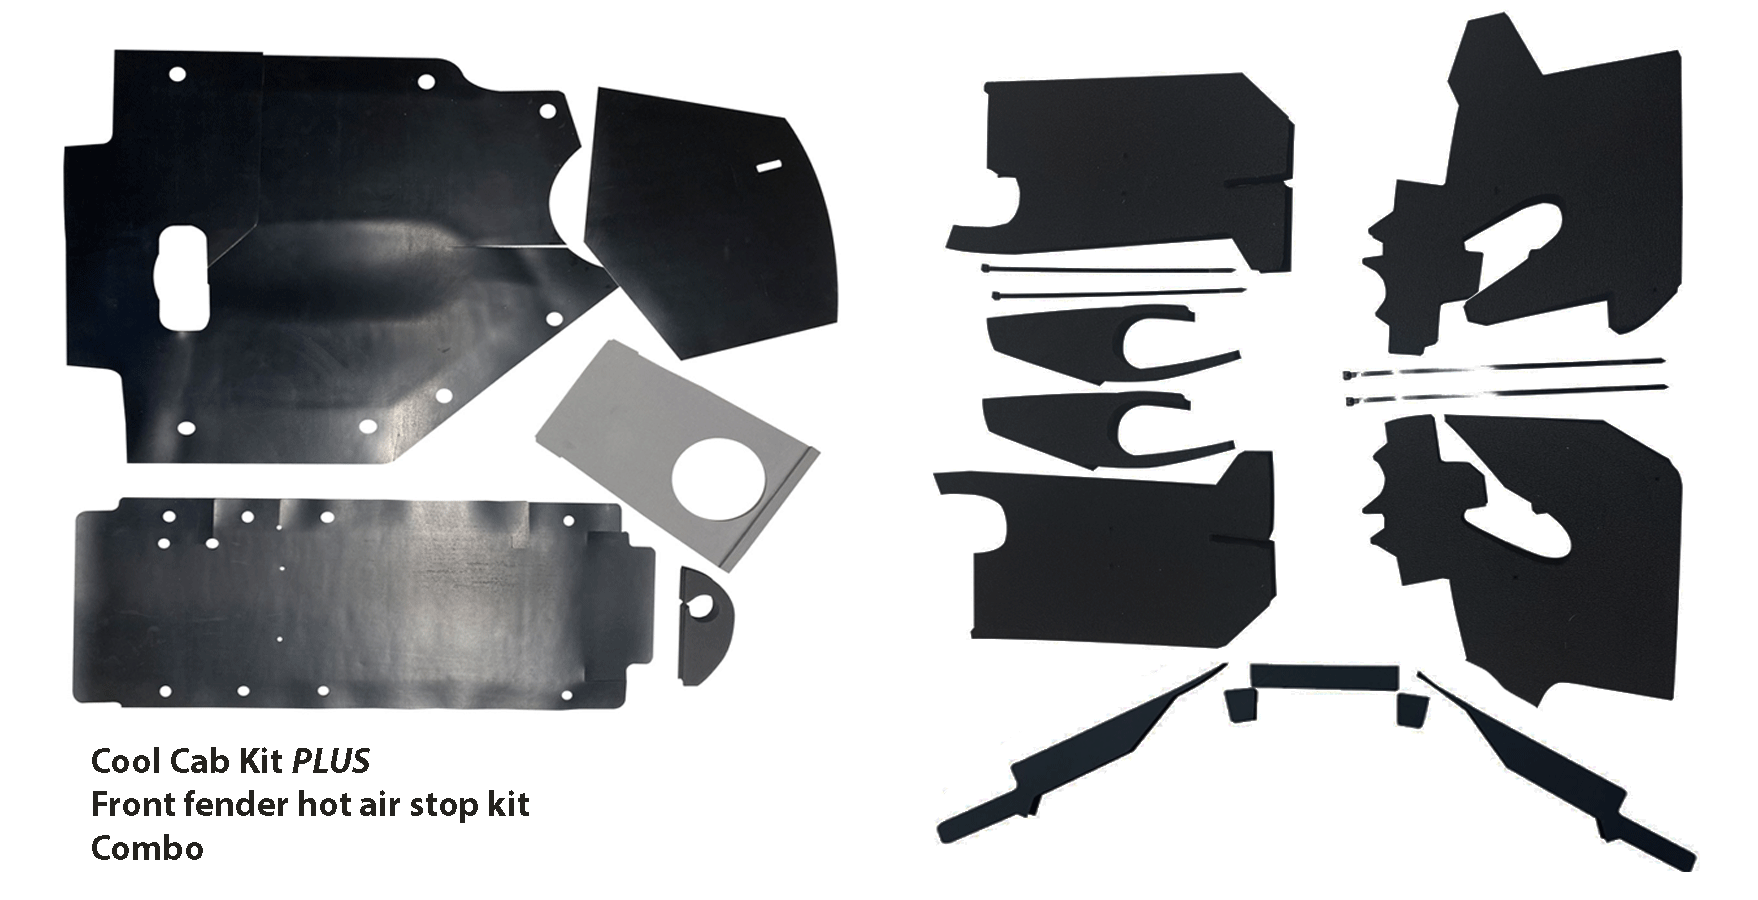
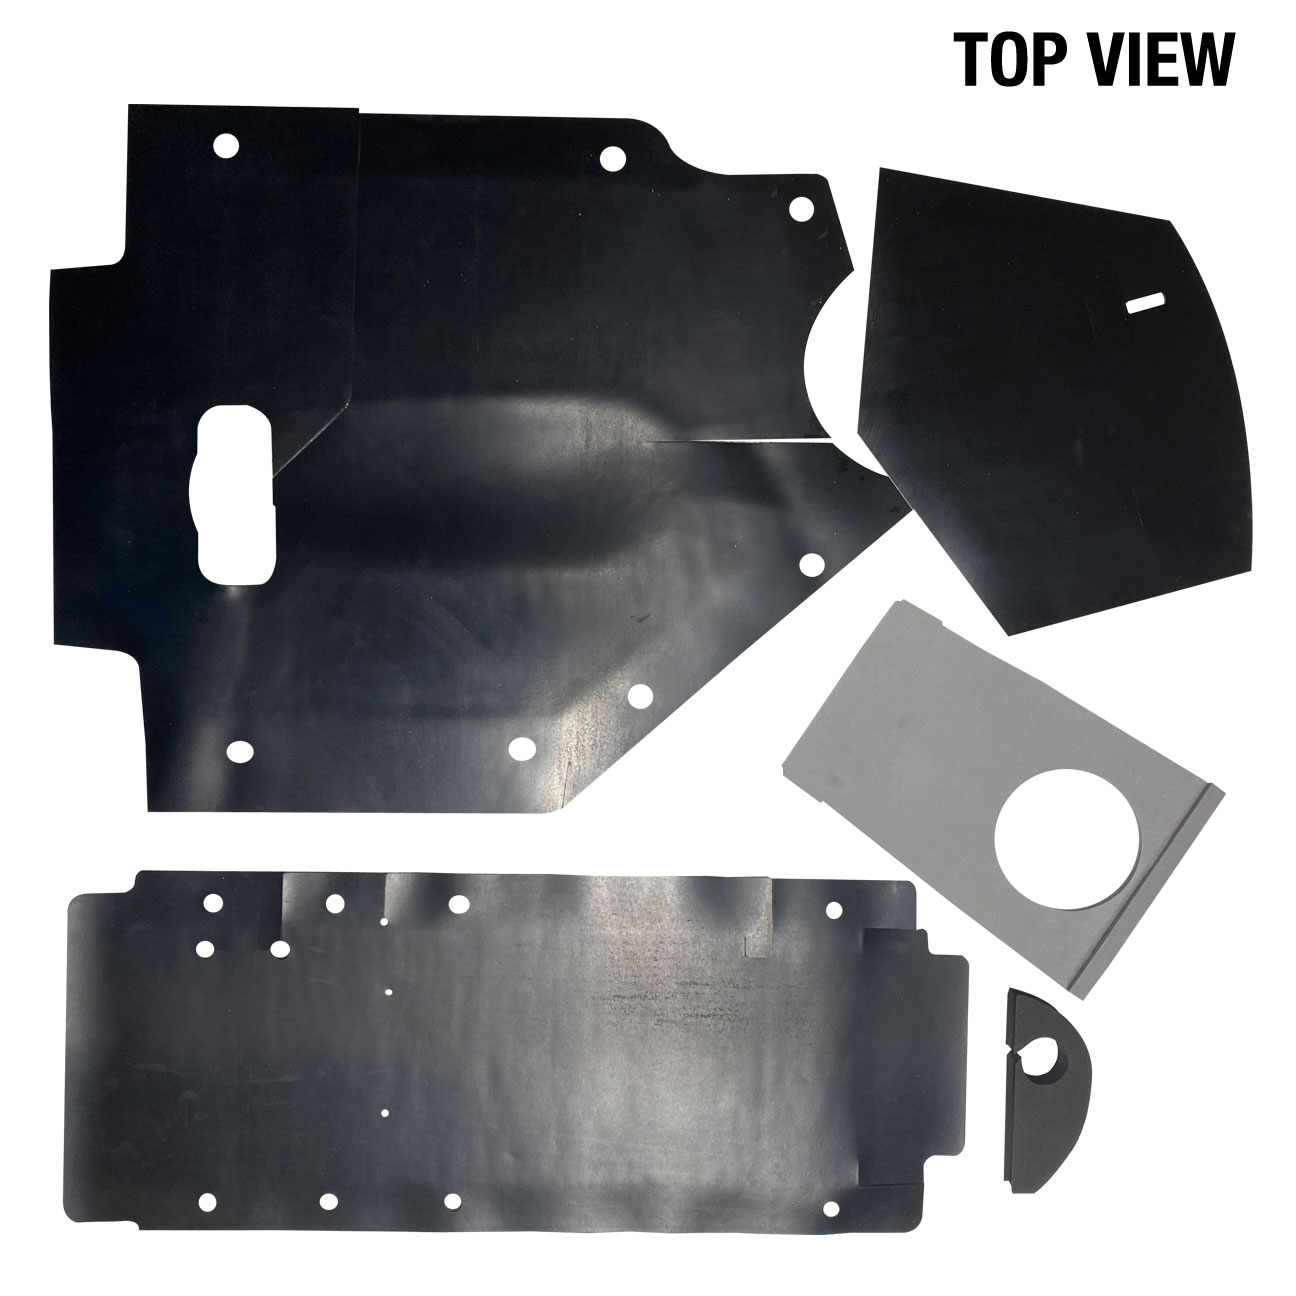
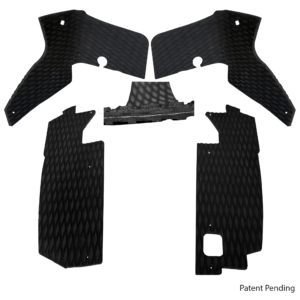
Designed to seal and insulate the console on your Polaris RZR, it effectively deflects hot air from entering the cab through the tunnel. Creating a sub-tunnel beneath your middle console, this kit channels hot air away from the riders, ensuring your drinks and console storage box remain pleasantly cool. In addition, the tunnel kit also helps keep the shifter linkage and cable clean and free of mud. With insulating foam and a rubber seal, say goodbye to burning hot shifters and consoles – and hello to cool, refreshing drinks
Note: For optimal results, we highly recommend purchasing the Fender/Dash Kit along with the tunnel kit. However, this kit is also available for separate purchase. Please ensure that you select the correct product from the dropdown menu.
Fender and Dash Kit
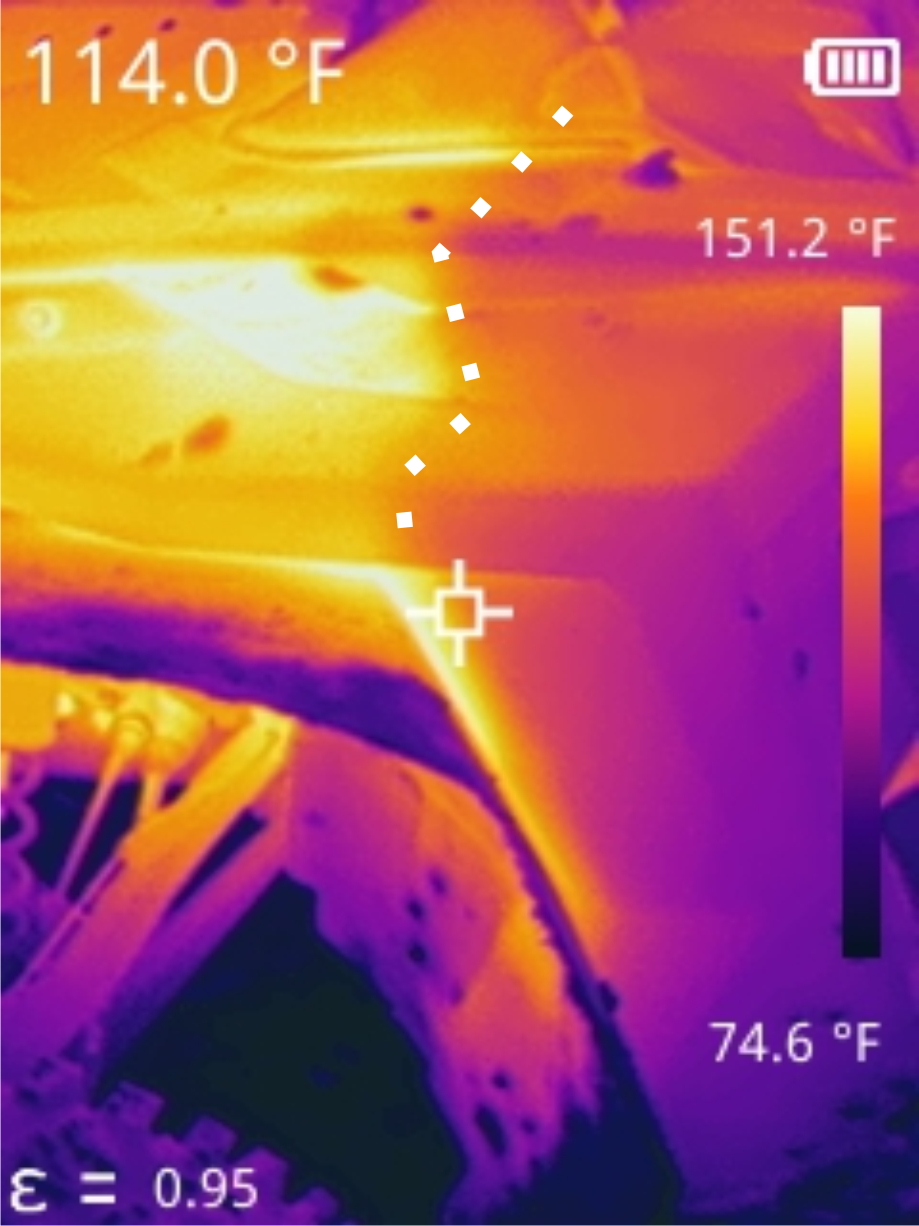
Crafted from high-quality insulating materials, this kit is precisely cut to fit your machine, effectively sealing off all significant points where hot air can enter. Not only will it keep the hot radiator air off you, but it will also prevent steam from billowing in on you during water crossings. It seals under your skid plate, in your dash, and through your fenders, ensuring that radiator heat no longer infiltrates your cab.
Note: While this kit can be purchased separately, for optimal performance, we highly recommend installing both the tunnel kit and this kit together. Be sure to select the correct product from the dropdown menu.
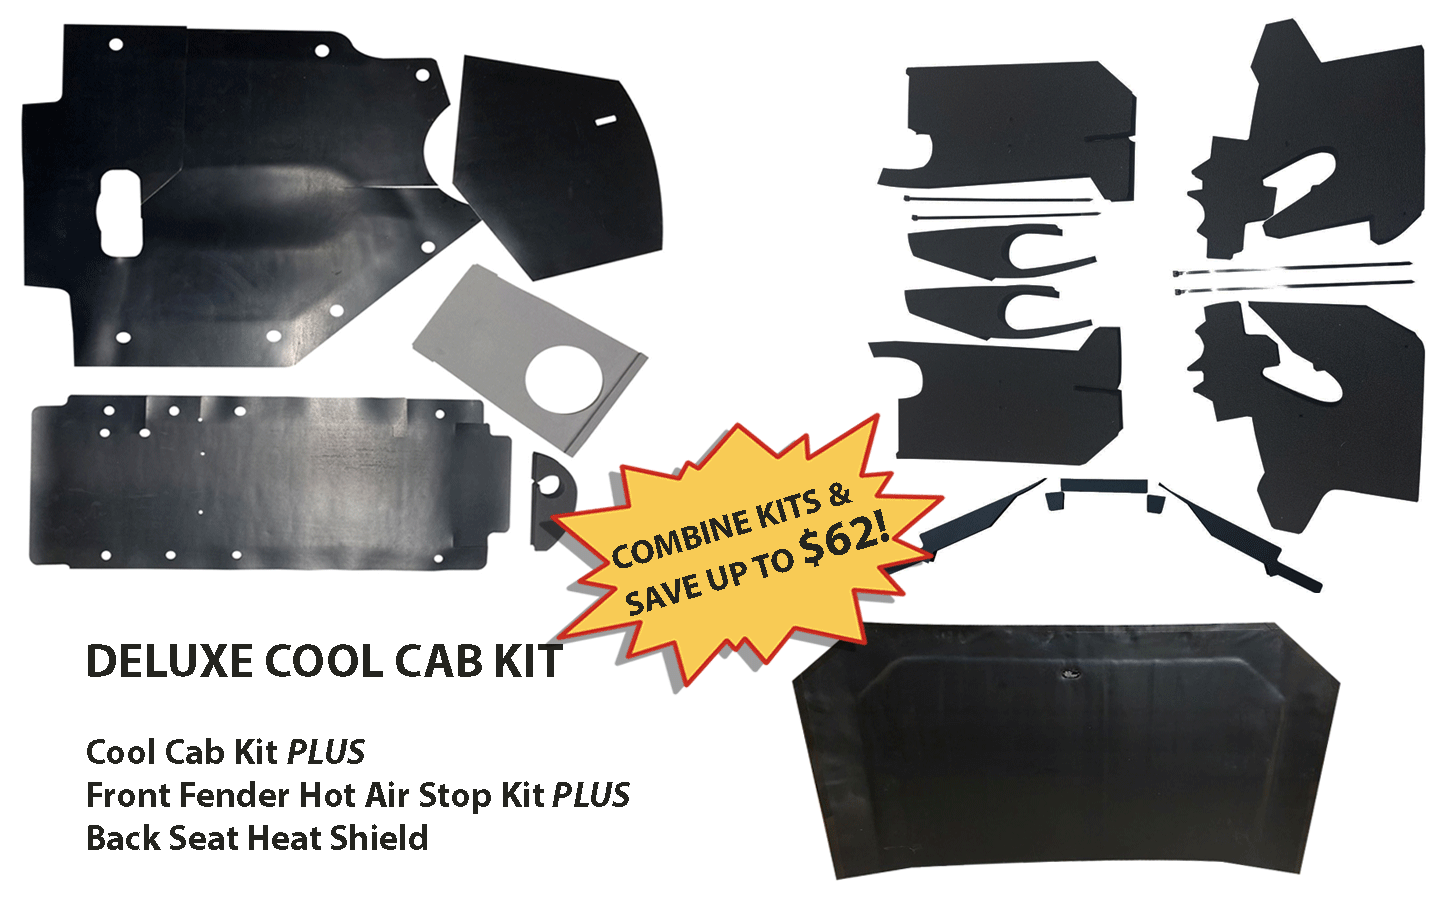
Deluxe Cool Cab Kit:
For the best riding experience try the Deluxe Cool Cab Kit, featuring the Back Seat Heat Shield, Tunnel Kit, and Fender/Dash Kit.
This combo ensures maximum comfort by sealing off and blocking hot air entry from behind the seats, through the middle console, and across the dash and fenders.
Note: The Deluxe Cool Cab Kit encompasses all the heat-blocking kits you need for comprehensive protection. While each part is available for individual purchase, for the complete set, select “Cool Cab Kit Deluxe Combo” from the drop-down menu.
PLEASE NOTE: ALL ORDERS TO AUSTRALIA REQUIRE AN ADDITIONAL $100 IN SHIPPING FEES TO BE PAID AFTER ORDER IS PLACED
Wolfsnout Cooler cab kit for RZR Pro R. We all feel the heat. Sometimes its unbearable in the summer. Nice to have in the winter. This kit seals and insulates the console on you Polaris Pro R by deflecting hot air from entering the cab through the tunnel. Insulating foam with a radiant barrier, and a rubber seal to stop the hot air. No more burning hot shifter and console. Drinks stay cool! Also check out our front fender and dash seal kit, rear firewall insulator and sound seal for further cool cab™ comfort. The Turbo R uses the same kit as the Pro XP. You can find it under Pro xp.
Pro R 4
Install Directions
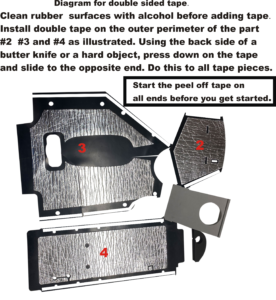
NOTE: This part should be installed last NOTE: If the plastic surface on the machine has ever been treated with a silicone based plastic preserver, the tape may not adhere. If you have, 3M adhesion promoter will help with adhesion. Also, below 70 degrees it is advised to warm the tape for better adhesion with a blow dryer or heat gun.
- Clean all outer perimeters with rubbing alcohol and apply provided double sided tape, as shown in the taping diagram below.
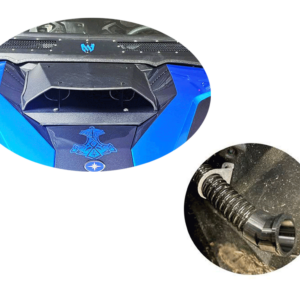
- This part slides under the air duct and turns up at the front of the back seats. Fitting around the air duct and attaching to the seat belt loops.
- The C shaped cut out will slip down on the carrier bearing bracket.
- Peel and stick the adhesive tape into place, making sure the surface is clean.
- The front of the seal should fit just in front of the push pin holes that hold the console, so the push pins can be reinstalled.
- Attach the front of this piece to the third section coming from the front seat using gorilla tape.
- Ensure everything is completely sealed before reinstalling the console.
